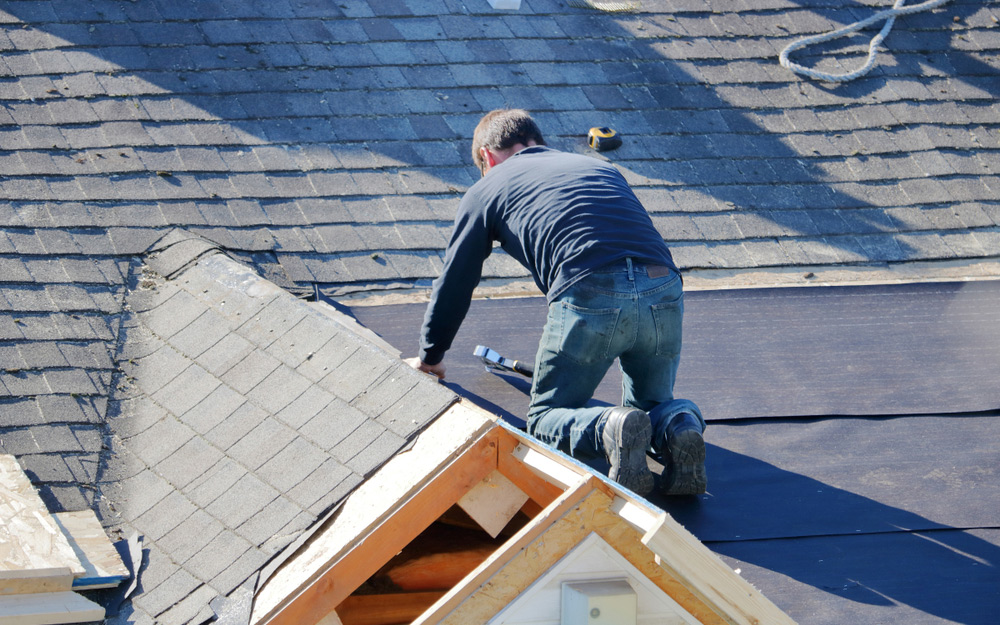
Find the source of the leak.
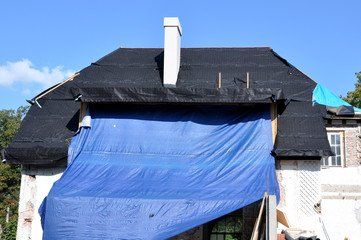
Securing a tarp to a roof.
Then fold the excess tarp under a few rotations for a tight clean fit.
Secure the tarp to your roof.
Wrap the tarp around the boards.
A tarp that will at least extend past the damaged area by at least 3 on each side the bottom the ridge the thicker.
If possible place the top edge of the tarp over the ridge of the roof to create the best seal.
It probably goes without saying but the size of the damage also.
Measure the dimensions of the tarp to be used.
There should be an additional 4 feet.
Create an anchor board by rolling the tarp s peak end with a 2 x 4 inch board and nailing the tarp to your board with.
Place the tarp on the leaking area and smooth it out.
The four edges are the peak ends.
The 2 by 4 should be about 2 feet longer than the tarp width.
Wearing a pair of carpenter s gloves wrap the tarp around the boards underneath so.
Place the 2 x 4 against the roof so the tarp won t gather debris or water.
To secure a tarp to your roof.
Roll the tarp s edges using 2x4 s to secure the wood and nail it to the tarp using 3 inch nails.
Climb on top of the.
Lay more 2 by 4s on either side of the tarp and attach those as well for a tight well secured water barrier.
Securing the tarp to your roof 1.
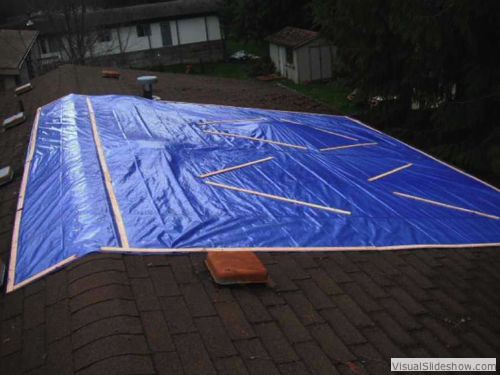
Positions several 1 2 pieces of lumber on the tarp running vertically down the slope of the roof.
Partially unroll your tarp to cover the damaged area from the roof s eaves to peak.
The board needs to be at least two feet longer than the tarp width.
Position 1 x2 pieces of lumber running vertically down the roof to firming secure the tarp.
The thicker the tarp is the better if it has uv.
Find the source of the roof leak.
Screw through the tarp and the.
Attach the 1x2s through the tarp and into.
Stretch a tarp flat on the roof.
If you don t have a helper use the metal rings to hold down the tarp at the furthest four corners.
If you have a ladder a knife a cordless drill saw you are all set just need to pick up some supplies a tarp that.
After this step you ll want to sandwich the tarp between another 2x4 and temporarily secure the bottom 2x4 to the roof with a nail.
You want to avoid big gaps and stretch it as far as possible.
Sandwich the tarp by nailing a second 2 x 4 board to.
Installing tarp on a roof without nails 1.
You need to know first which spot on the roof needs tarping up.
Screw the 2 by 4 directly into the roof to secure it.
If you have a helper this part is easy.
Secure the board to the roof with screws.
Secure 4 2x4 38 x 89mm boards with a drill to the peak ends of the tarp.
Next wrap the tarp around the board.